Recently I was working with a client that leveraged Okta to store their customers’ identities. They leveraged Azure API Management for their internal APIs, but wanted to start allowing their customers to access certain products within API Management. We could have leveraged Azure AD B2C or Azure AD B2B to help achieve this, but they didn’t want to manage an additional identity provider. Today I will show how we integrated Okta and Azure API Management.
Step 1: Login to your Okta Account

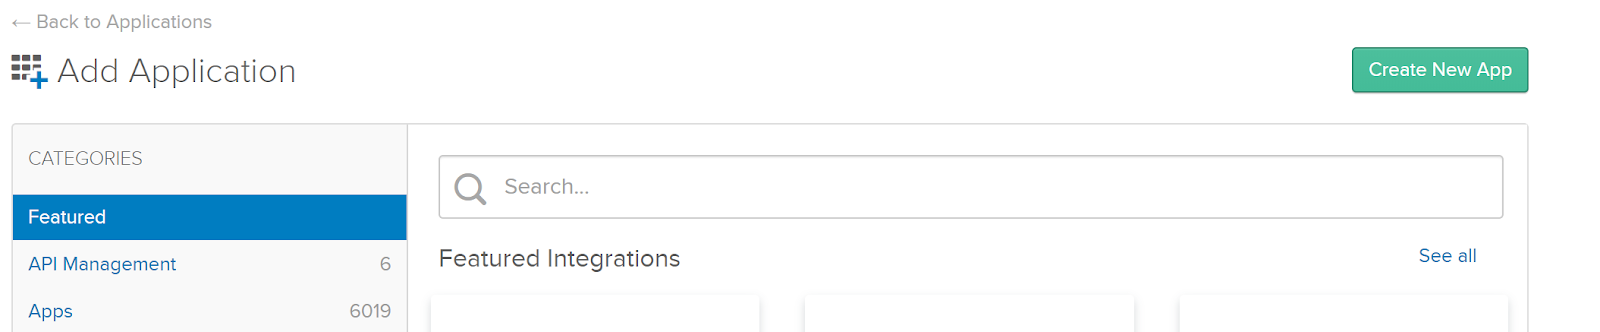
Step 2: Go to the Application Section on the Menu Bar and you should see a page like this:
Step 3: Click on Add Application
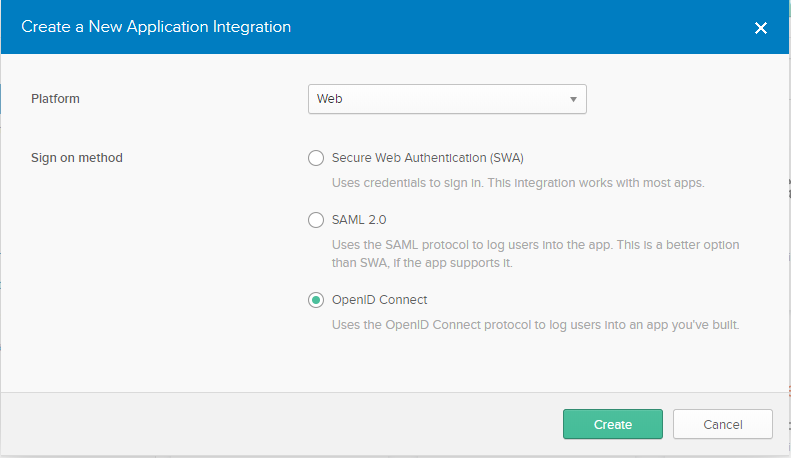
Step 4: Leveraging the Web Platform, and OpenID Connect to integrate with APIM
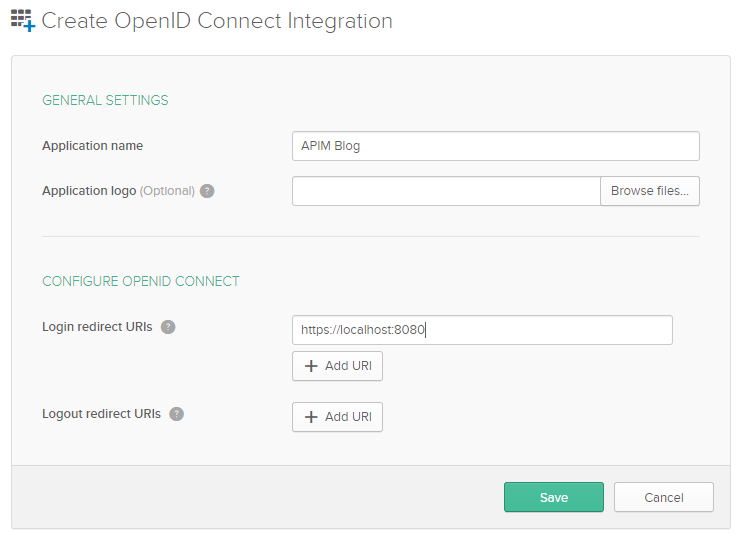
Step 5: We are asked for information about our new application, for the login redirect URIS we will use localhost for now as we will get the proper URL from Azure once we create our provider in Azure API Management.
Step 6: Once you’ve saved, you will be brought to the following page that allows you to select your grant types as well as providing you your client id and secret. Depending on your security model select the proper method. I’ve tested with both client credential and authorization code flow. Select both for now so you can test both ways. (More info on OAuth 2.0 Flows https://dzone.com/articles/the-right-flow-for-the-job-which-oauth-20-flow-sho)
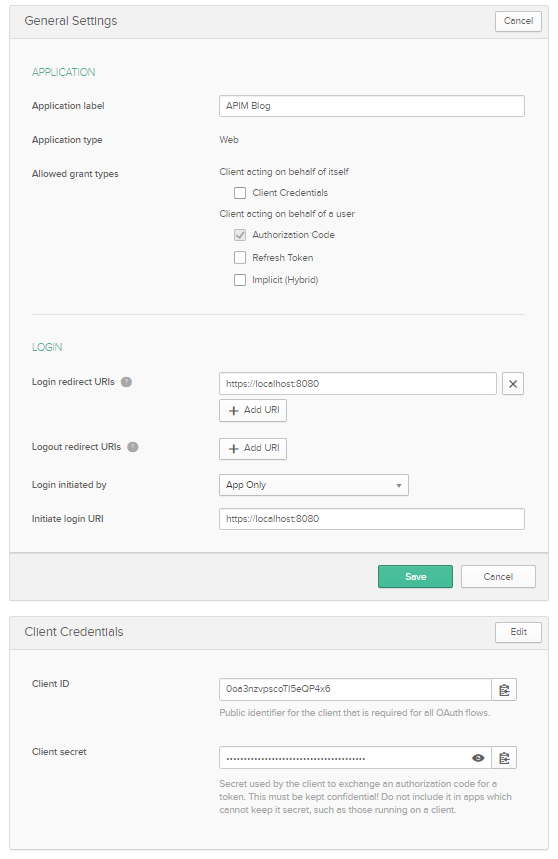
*To see your client secret click the eyeball, normally you don’t want to share your client id either, but I’ve deleted the test application in Okta : )
Now let’s get into Azure and setup our Identity Provider. I recommend keeping Okta open and just opening another tab or browser as we may switch between the two.
Step 7: Login to the Azure Portal and Open your target API Management Resource
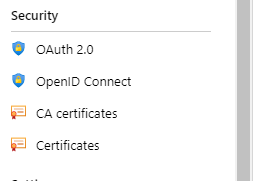
Step 8: In your API Management Resource Blade, find the Security and OAuth 2.0 Menu Item
Step 9: Click on Add in the OAuth 2.0 Page in Azure

Step 10: A new menu on the right should popup where we will setup our Identity Provider
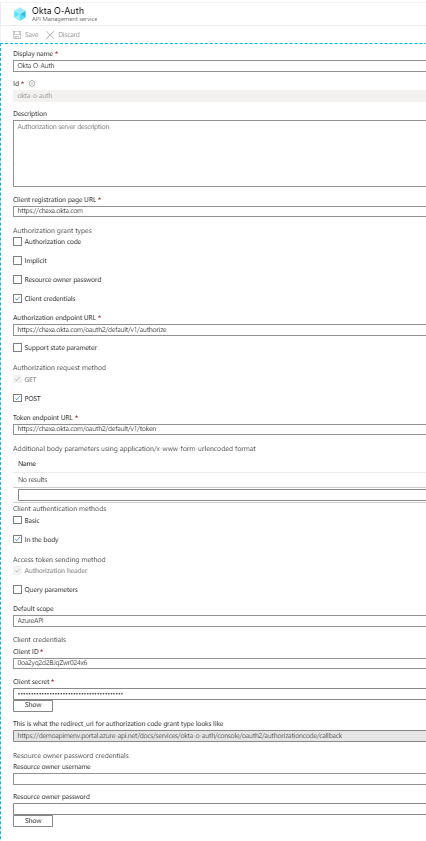
Here are the key parameters that you will need:
Client Registration Page URL : https://[yourOKTAurl].okta.com
Token Endpoint URL : https://[yourOKTAurl].okta.com/oauth2/default/v1/authorize
Default Scope : We will modify this later, for now let’s put OpenID and I’ll show you how to create a scope in Okta
Client ID: The client ID you were given when you created your application, if you kept that tab open grab it if not login to Okta and go to your application and click edit.
Client Secret: See above
**IMPORTANT** Before leaving this page, copy the url where it says “This is what the redirect URL for authorization code grant type looks like.” When you are on the edit page of your Okta Application replace where we placed Localhost with that URL. It should be https://[yourAZUREapimurl].portal.azure-api.net/docs/services/okta-o-auth/console/oauth2/authorizationcode/callback but copy and past to be safe.
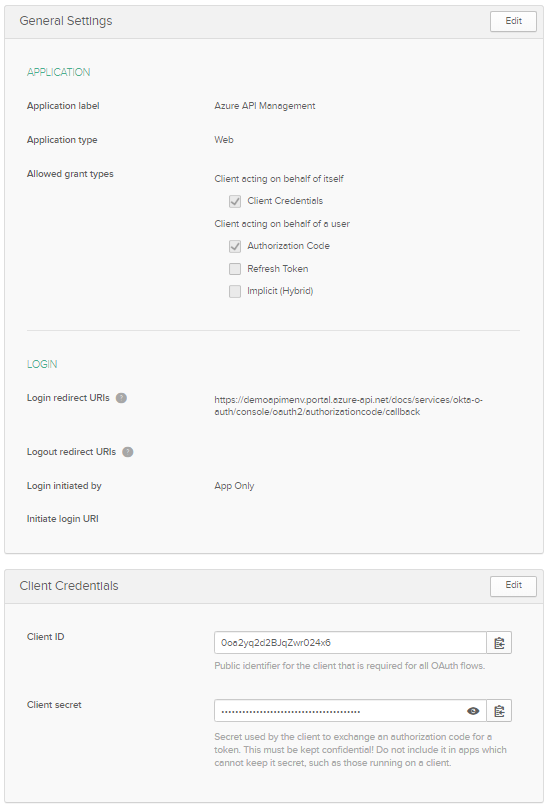
Step 11 : Now let’s go back to your Okta application and ensure your settings look like this:
For this Demo we are going to test with both Client Credentials and Auth Code Flow so we have both checked.
Login Redirect URLs : We are going to include https://[yourAZUREapimurl].portal.azure-api.net/docs/services/okta-o-auth/console/oauth2/authorizationcode/callback to support our Azure API Management
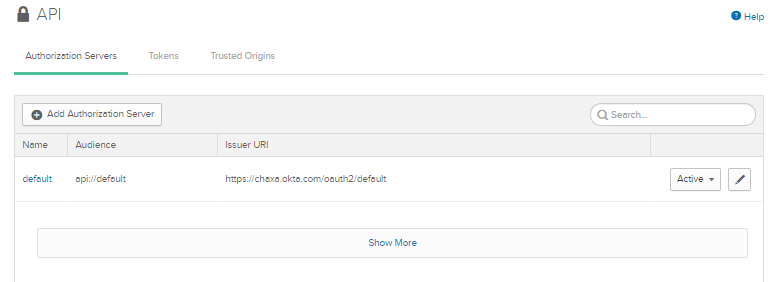
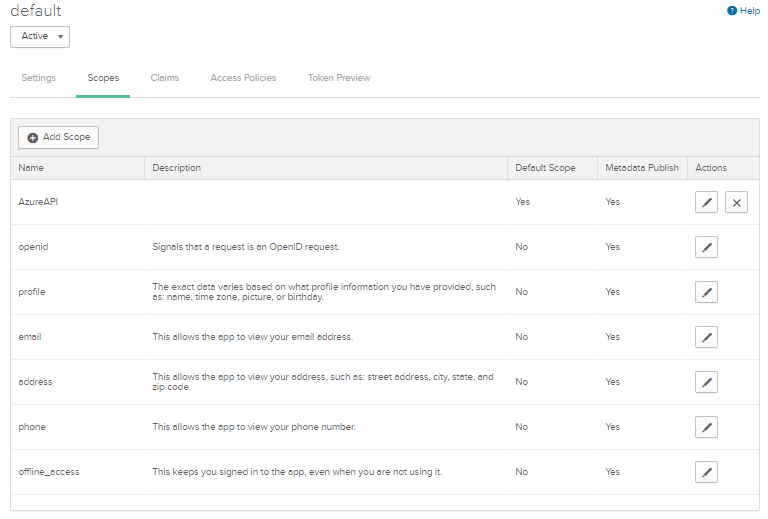
Step 12 : Now that our application is setup properly let’s add a Scope for our Client Credential Flow. Go to the security menu and select API and you’ll see the following.
Step 13: For this demo I am using the default Authorization Server Okta provides, however for production application you can create a new Authorization Server. Click on default
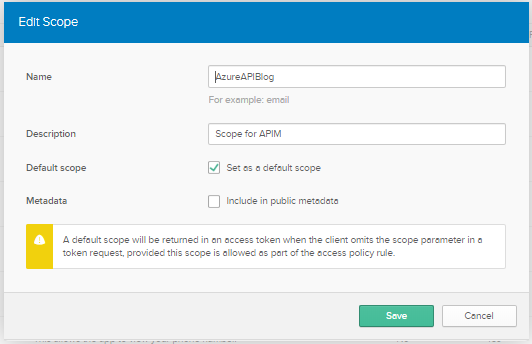
Step 14 : Click add new Scope
Step 15: Now we must assign our user to the application, we will go to the directory menu and select the people. This is where we can click on our specific user we want to test with and add them to our application we created.
Step 16: Go back to Azure and check your OAuth 2.0 Provider and ensure you have the right scope defined in the default scope field.
Step 17: Now we are ready to test to ensure our setup is done properly. Go to the API menu option within your Azure API Management Resource.
Step 18: Click on Developer Portal (Legacy)
Step 19: Go to your Test API and Click Try It

Step 20 : When you get to the Try it page, depending on what you named your Okta Provider you should see a drop down like this:
As you can see we have the option to leverage Client Credentials and Authorization Code, select Client Crendentials
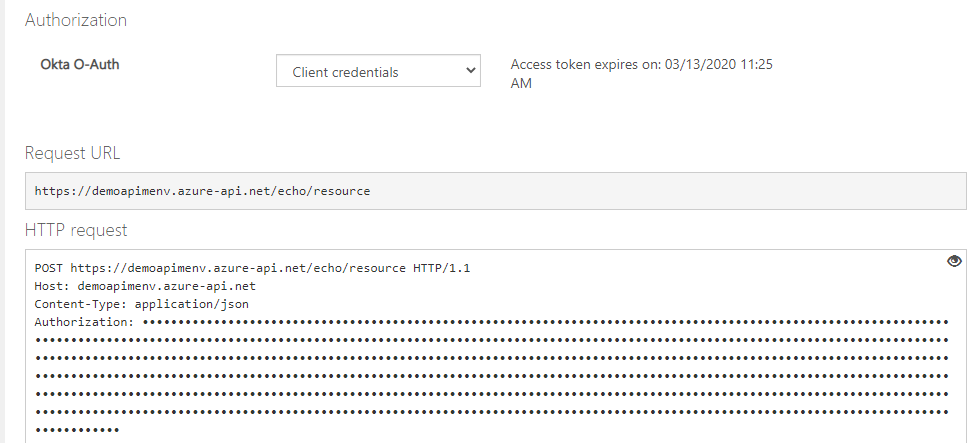
Step 21: A pop up should come up asking you to Authorize against Okta. If it’s succesful your page should look like this:
As you can see we get a timestamp of how long our token is valid for, as well as an authorization header with our token for our request.
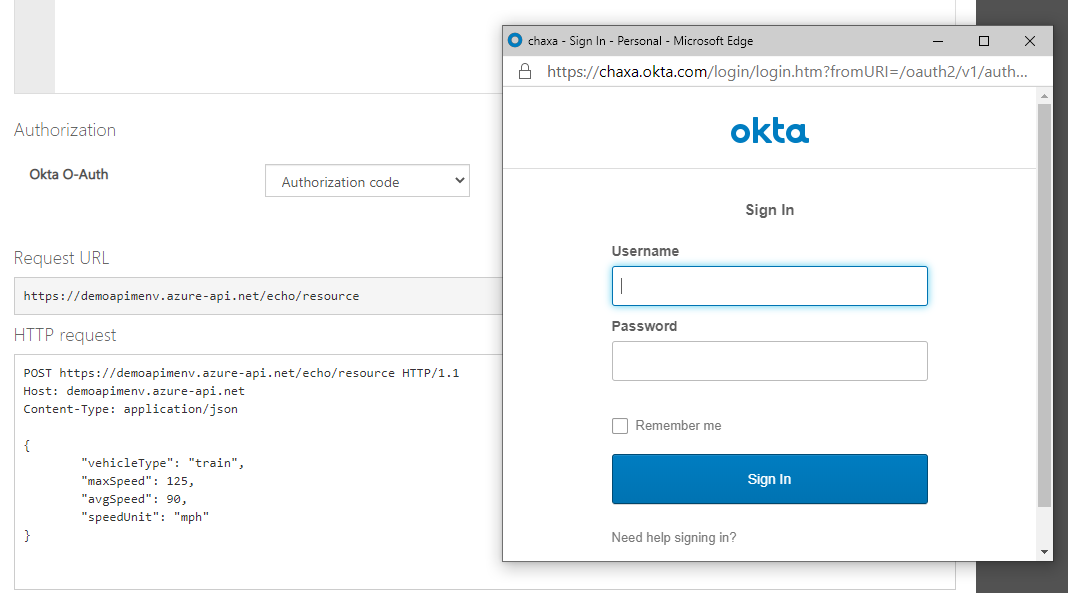
Step 21 : Swap the dropdown back to No Auth, and then switch it to Authorization Code with the authorization code method we will be asked to login as our test user in Okta:
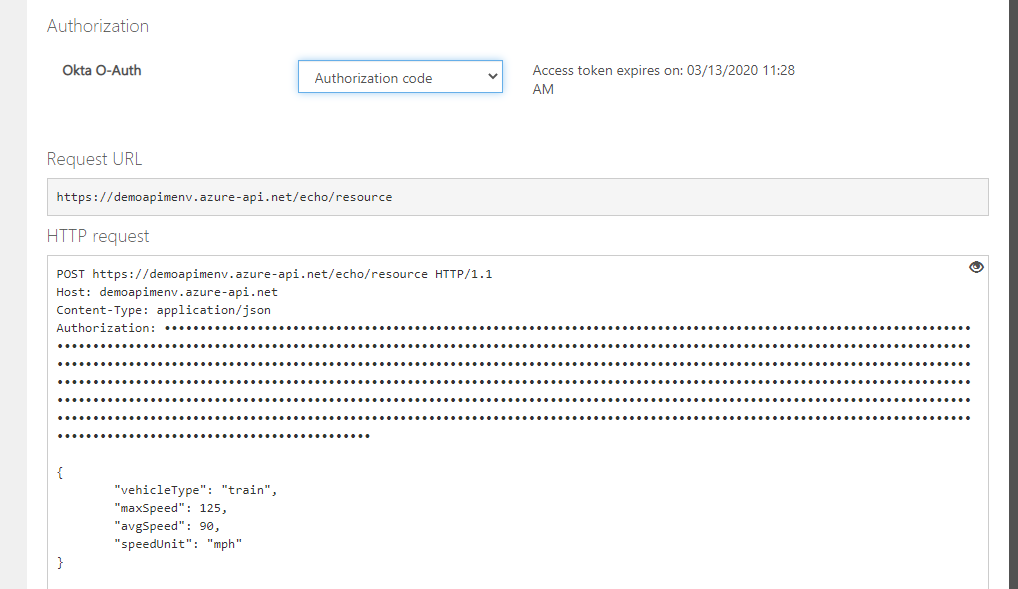
Step 22: Again you should see an Authorization Header added and Token Expiration:
Step 23: I’ll be going deeper into Azure API Management Policies in a later post, but to give you an idea on how to protect your API to only be accessed by folks with a proper Okta Claim we can add the following policy at either the product or api level:
<inbound>
        <validate-jwt header-name="Authorization" failed-validation-httpcode="401" failed-validation-error-message="Unauthorized. Access token is missing or invalid.">
            <openid-config url="https://[yourOKTAurl].okta.com/oauth2/default/.well-known/oauth-authorization-server" />
            <required-claims>
                <claim name="aud" match="any" />
            </required-claims>
        </validate-jwt>
        <base />
    </inbound>
Thanks for reading and feel free to reach out if you’re stuck!